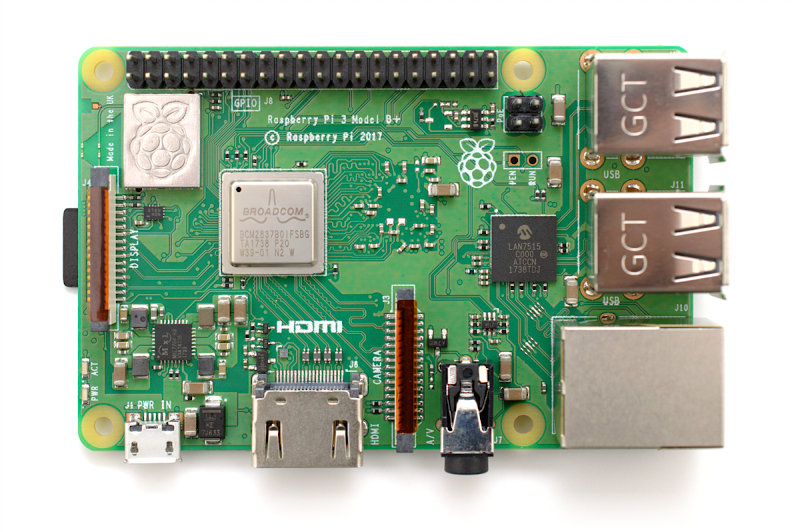
Easy custom IOT interfacing with Raspberry Pi through Google Assistant

Have you ever wanted to be able to activate or deactivate anything at your home just by your voice? Now we can thanks to Google Assistant and Google Home using a Raspberry Pi. We’re going to configure a simple of triggering a LED connected to the Raspberry Pi GPIO from a Google Assistant voice command.
What you need:
- Raspberry Pi (any model) with internet access (and a LED with a resistor).
- IFTTT account.
- Google Assistant at your phone or Google Home.
Create a endpoint for receiving a post at your Raspberry Pi
Install an apache server on Raspberry Pi and do not forget to give onwer and write access to www-data to be able to run scripts and write to files.
Put a PHP file like this in some directory, per example “/var/www/html/post/index.php”.
The important part is to launch the script but here you can do whatever you want and as complex as you wish. You can either launch a executable, a bash script, save the post data to a text file and process later or even do all the process directly at the apache server with php.
<?php
	echo(' <!DOCTYPE html>
			<html>
			<body>
			<h1>Post received!</h1>
		');
?>
<?php
	//You can output the post content to a file to be read later
	file_put_contents('test.txt', file_get_contents('php://input'));
	//You can run a custom script on demand
	$output = shell_exec('./run');
	//If not you could put here any PHP code to process the data directly
	//or do the actual process in PHP.
	echo('
			</body>
			</html>
	');
	http_response_code(200); // PHP 5.4 or greater
?>
Decide what your action will do
I wrote a basic example based on WiringPi to enable a LED for 3 seconds and turn it off, it would be our “Hello World” equivalent to this project.
#include <stdio.h>
#include <unistd.h>
#include <wiringPi.h>

#define PIN 11

int main(void)
{
	wiringPiSetup();
	pinMode(PIN,OUTPUT);
	digitalWrite(PIN,HIGH);
	sleep(3);
	digitalWrite(PIN,LOW);
	return 0;
}
Put this executable in the web server folder to be able to launch it on demand.
WiringPi also has PHP wrappers to manipulate the GPIOs, you can check those wrappers if you prefer.
Give public access to your Raspberry Pi webserver
Consider most home connections have dynamic IP address that changes from time to time. You’d need a way to fix the address your Raspberry Pi.
You can get a free Dynamic DNS domain on the internet that will give you a free fixed address to call your Raspberry Pi. If you have already a domain you can use a subdomain and turn it to a DynDNS one.
Also you’ll need a service on your network to tell the server your new public IP address each time. If you’re lucky your router will have this service included -mine do- and you can configure with your DynDNS address. If not, you can install that service on the Raspberry Pi and configure it with your custom domain.
Finally you need to add a NAT rule on your router to redirect the TCP port 80 to your Raspberry Pi (you should configure a fixed local IP address for it too).
Now, you have a fixed public address to access your Raspberry Pi from outside your network.
Create custom Google Assistant trigger with IFTTT
IFTTT give us an easy way to configure simple Google Assistant applications without much trouble. I’ve created an IFTTT applet which you can copy and adapt to your needs. You should change your Google Assistant voice trigger and your public URL to the post and post whatever you want to your endpoint.
Everything should now be working
Test the whole setup. I configured an easy: “Turn LED on” and I have Google Home, so when I tell “OK Google, turn LED on” Google answers me “Turning LED on” and my LED connected to my Raspberry Pi turns on for 3 seconds and then off.
Create!
Now you have the basics working to be able to trigger anything you want in your Raspberry Pi: every GPIO or application running there. Your imagination (and physics) is the limit!
If you liked please share your examples with us!


